The most useful thing to bring to a first Russian manicure is a clear idea of what you want to leave with. You can work out the technical details with your technician. Understanding the appointment’s main stages helps you know when to choose a shape, mention a concern or ask for an adjustment.
Before you arrive: reserve the right kind of time
The Russian manicure process changes with removal, structure, extensions and artwork. A reference photo showing long extensions needs a different plan from a one-color manicure on your natural length.
Ruta Beauty lists a 90-minute SPEEDY Russian Gel Manicure and a two-hour Hard Gel Manicure. Check the chosen service and explain existing product when booking. Extra work needs to be accounted for before the appointment begins.
First: discuss the nails you have today
Your technician assesses the natural nails, surrounding skin and existing coating. Mention previous reactions, lifting, recent injuries or a set applied elsewhere. If you do not know the current product, say so and share any information you do have.
This conversation is also the moment to explain your everyday needs. You may want a shorter edge for typing or a shape that works with the length you have. These details help translate an inspiration photo into a realistic plan.
Next: agree on length and shape
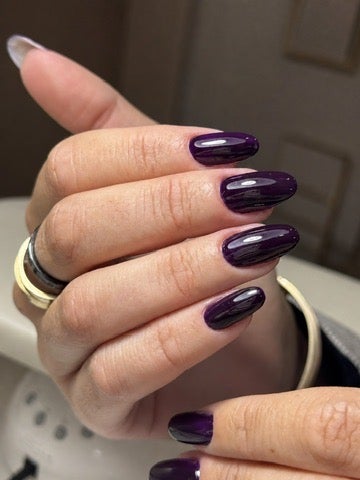
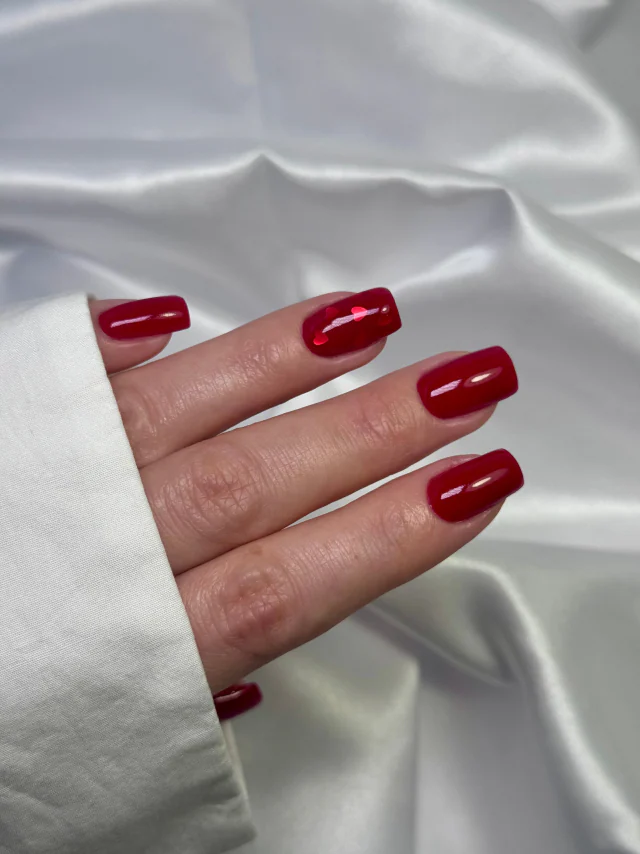
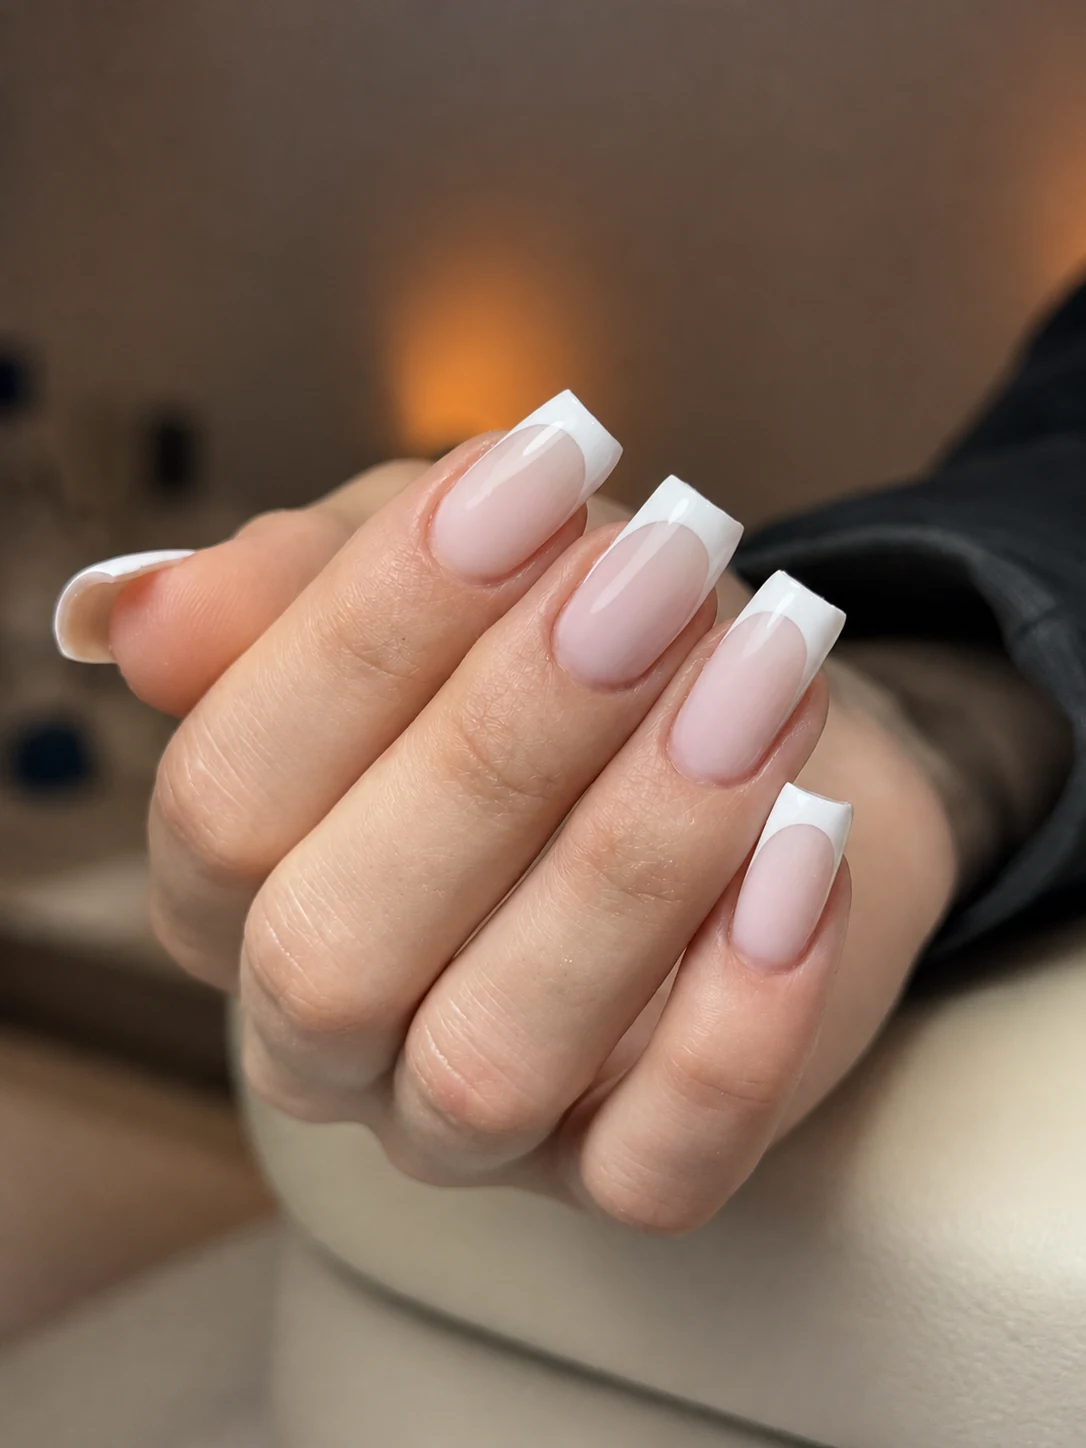
Look at the outline before the color becomes the main focus. Decide whether the nails feel comfortably short, whether the corners are softer than you expected and whether the shape matches your reference.
It is easier to discuss an adjustment at this stage than to discover at the end that you wanted a different silhouette. Our nail-shape guide can help you arrive with a narrower choice.
Then: professional dry preparation
The preparation is performed without a pre-service soak, using professional tools suited to the work. This is the stage behind the crisp outline people often associate with a Russian manicure.
Tell your technician right away if any step feels hot, sharp or painful. The American Academy of Dermatology advises leaving cuticles intact and avoiding forceful pressure on them. Ask how the technician can adapt the preparation if the area is sensitive.
For more about the waterless approach itself, read what the dry technique means.
Choose the product and see how it is finished
The agreed service determines whether the next stage is a lighter gel-color finish, a structured hard-gel overlay or added length. Those choices can produce different profiles even when the final color is identical.
Will a lamp be used? Gel color and hard gel are cured in a nail lamp as part of their product system. A clear or no-polish service is a different booking. If you want to avoid a particular product or have had a reaction, discuss that before the service is selected.
Before leaving: check the details that matter to you
Look at both hands together. Check the shape, length, color and feel of the finish, and mention anything you want clarified before the appointment ends.
Ask what maintenance is appropriate for your set and how to handle a lifted or rough edge. The aftercare guide gives you a simple starting routine. If your booking is still uncertain, send Ruta Beauty a photo and your goal so the appointment can start with the right plan.